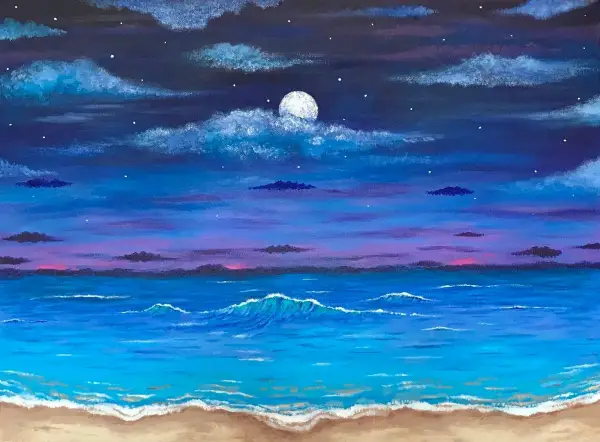
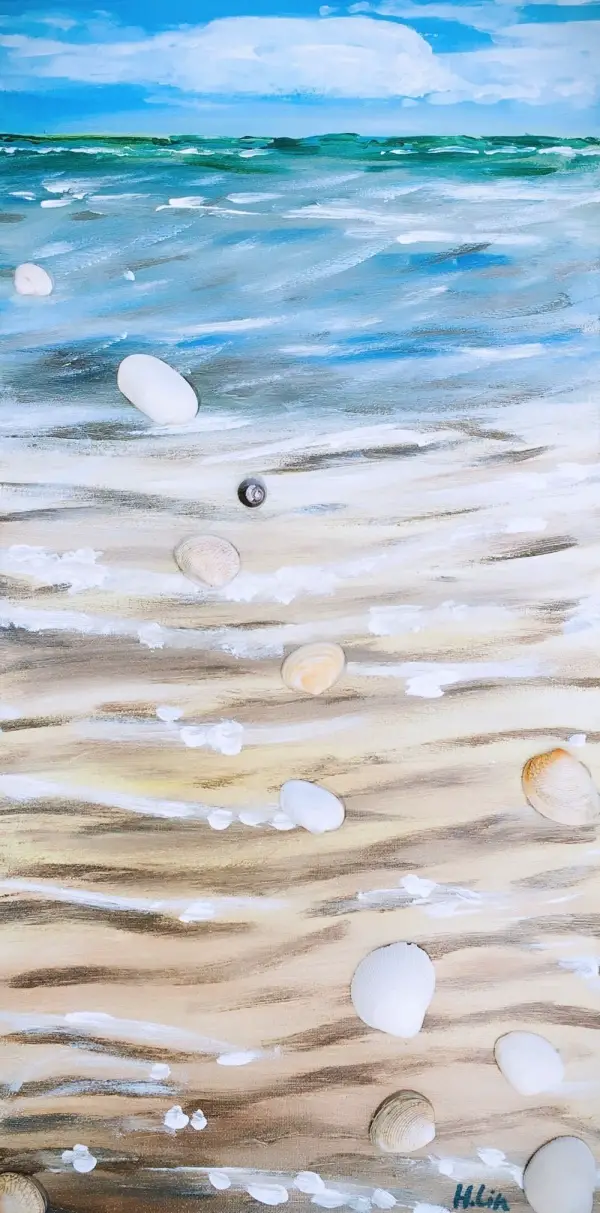
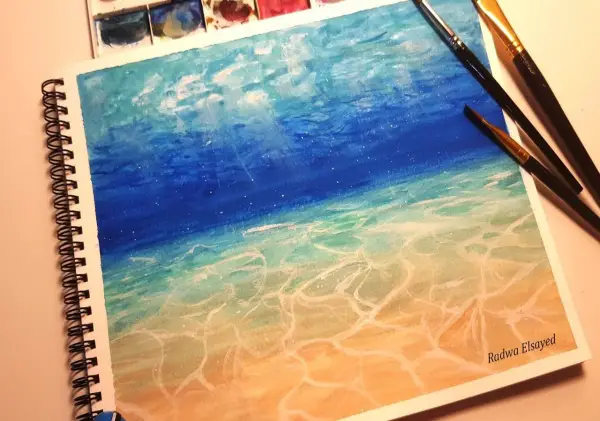
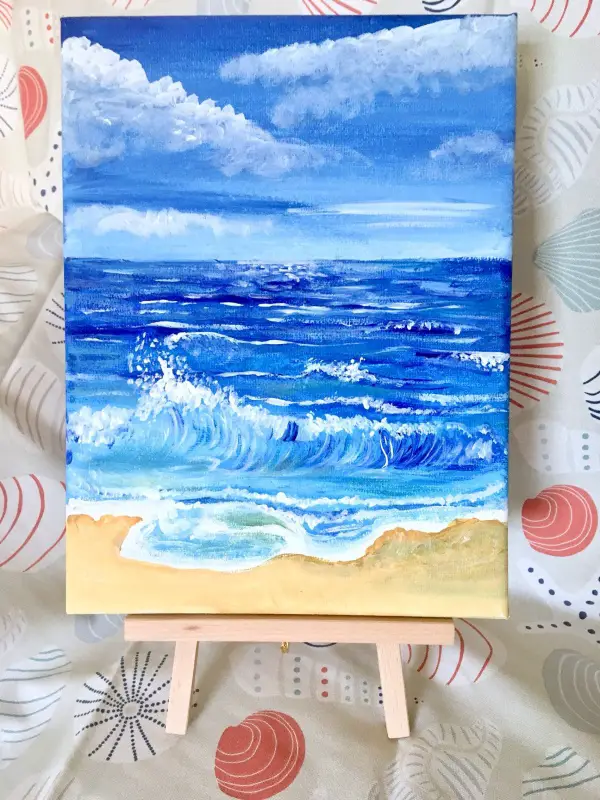
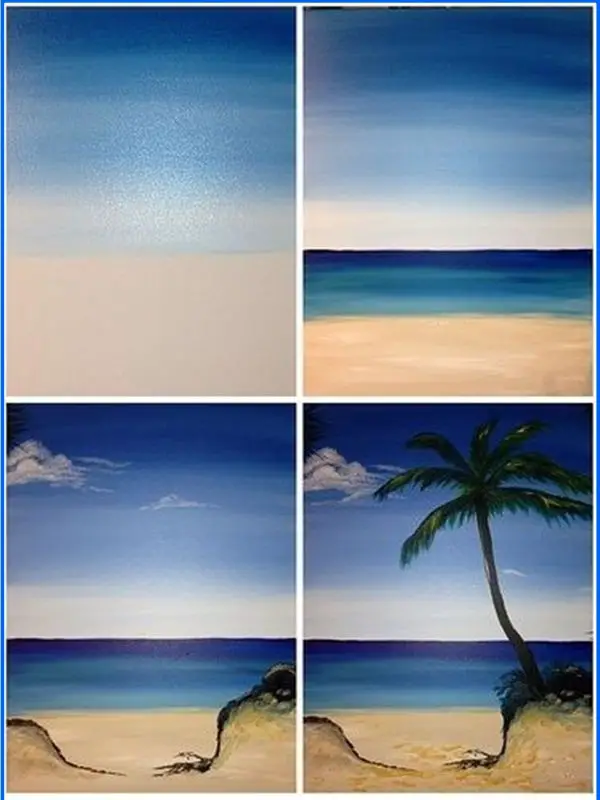
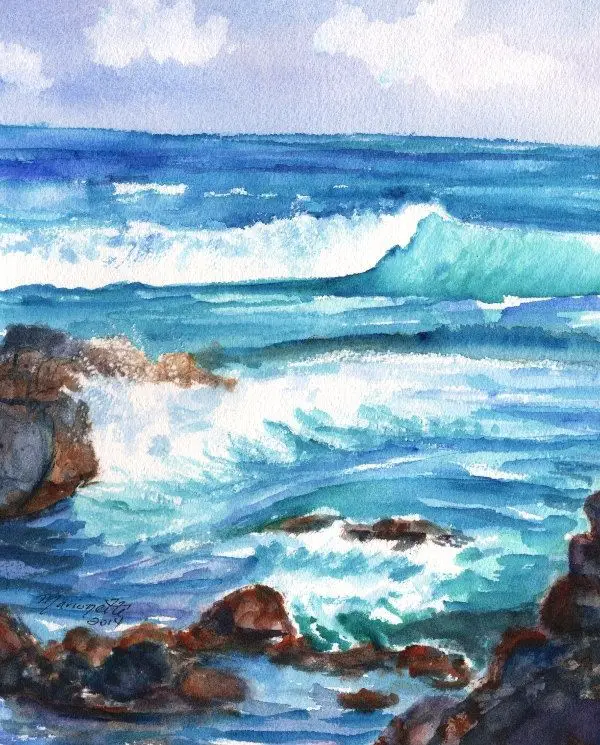
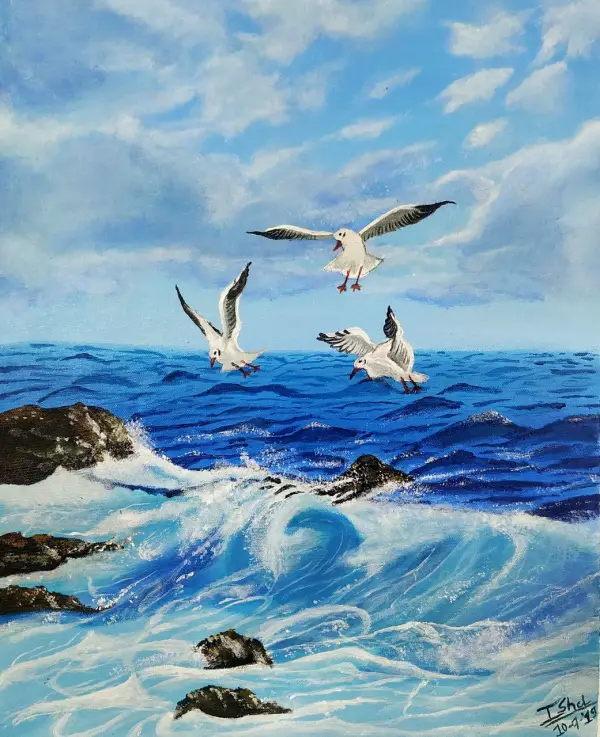
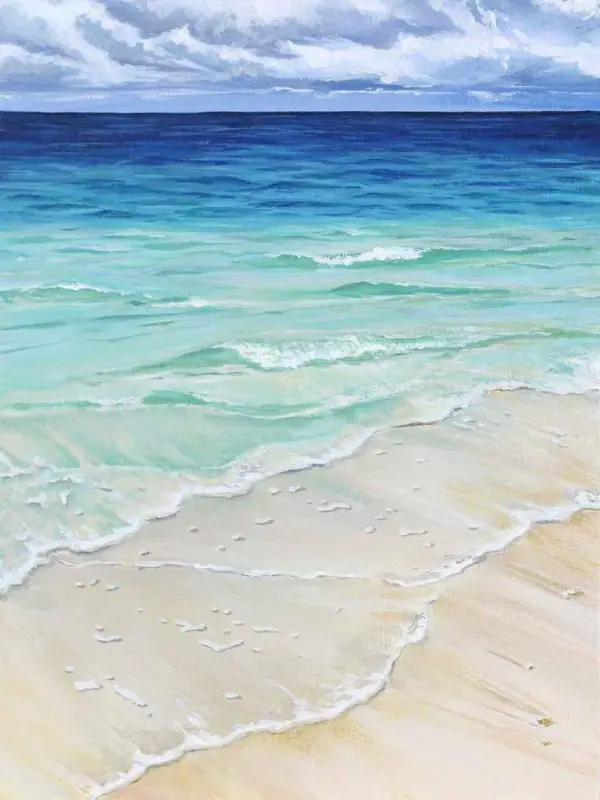
Painting is my passion. However, with all the responsibilities of being a working woman and a mother, I often find it hard to get some time to fulfill my dream. Well, if you’re super busy like me and looking for quick ways to get your artistic juices flowing, then this article will prove to be a great help. Painting the Ocean is the most common subject for beginners and has served an inspiration for countless famous paintings of the world. Here, we present the painting ocean step-by-step guide for beginners that allows you to create your stunning ocean painting in no time or about less than 15 minutes.
Please note – this painting idea involve blending and mixing a couple of paints. To create a beautiful ocean painting, learning blending and mixing of the colors is a great way to get a feel for the colors you want and to see how the paints look. Also, here we have some Easy Acrylic Abstract Painting Ideas. Yup, this is a sure-shot way to impress all your friends and guests when they come to your home. Take a look at the following steps – easy to remember!
Painting Ocean: Step By Step Guide For Beginners
STEP 1: Learn the Basics!
Ocean paintings deal with certain sorts of conventions to assure their accuracy. So, before starting the painting, it’s good to familiarize yourself with the conventions involved in ocean painting. For example – the horizon line is considered a point where the ocean meets the skyline and tries to limit the use of white color as it gives painting a complex look.
STEP 2: Take Decisions about your Precise Setting!
This is the most crucial part of painting an ocean step-by-step guide for beginners. Be quite sure about the substrate you’re using for painting water that’s near the shore such as – rocks, gravel, stones, and coral.
- Lights form patterns in the water, no matter whether it’s still or moving. So, consider the time of day in the scene in your painting. Like – is it afternoon or evening?
STEP 3: Painting the Sky!
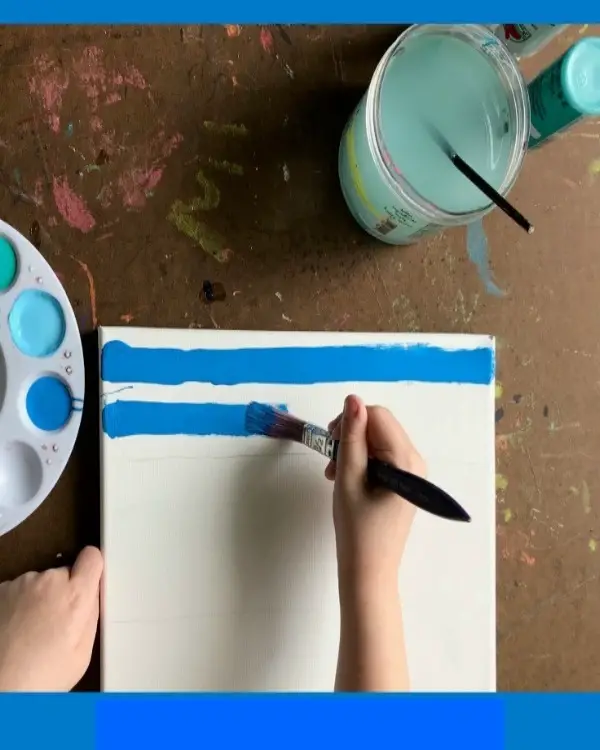
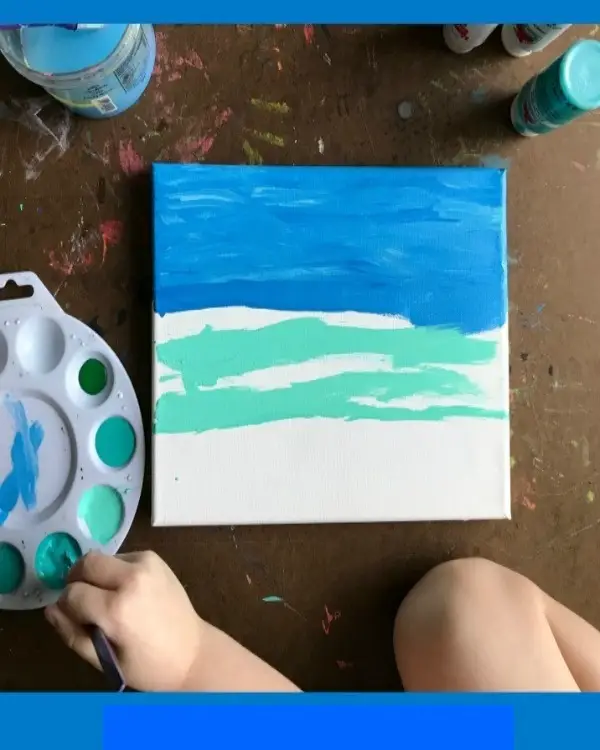
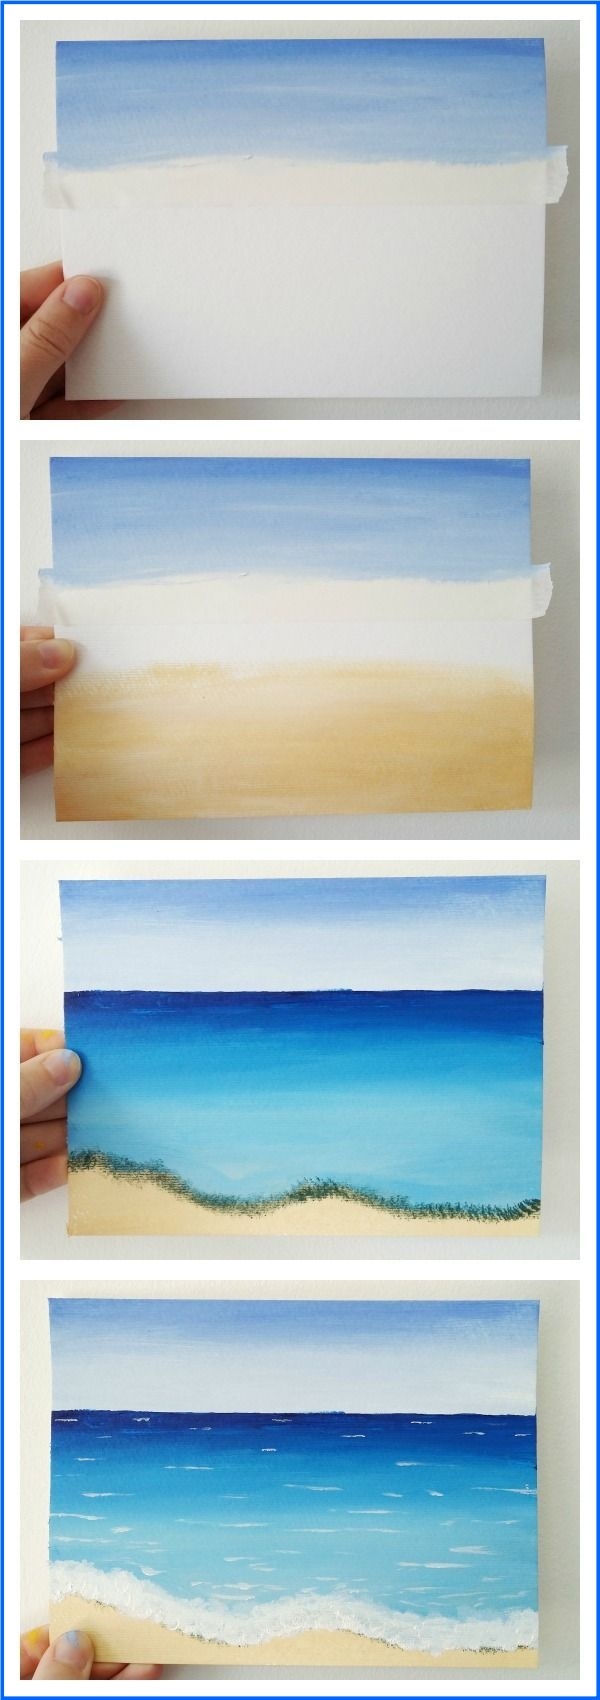
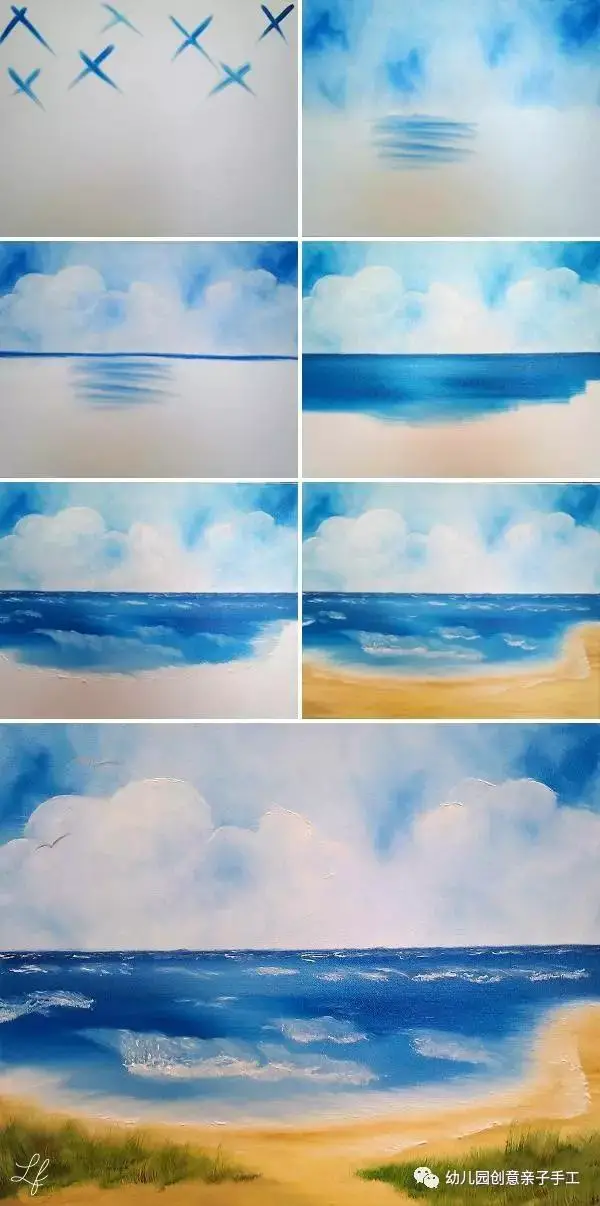
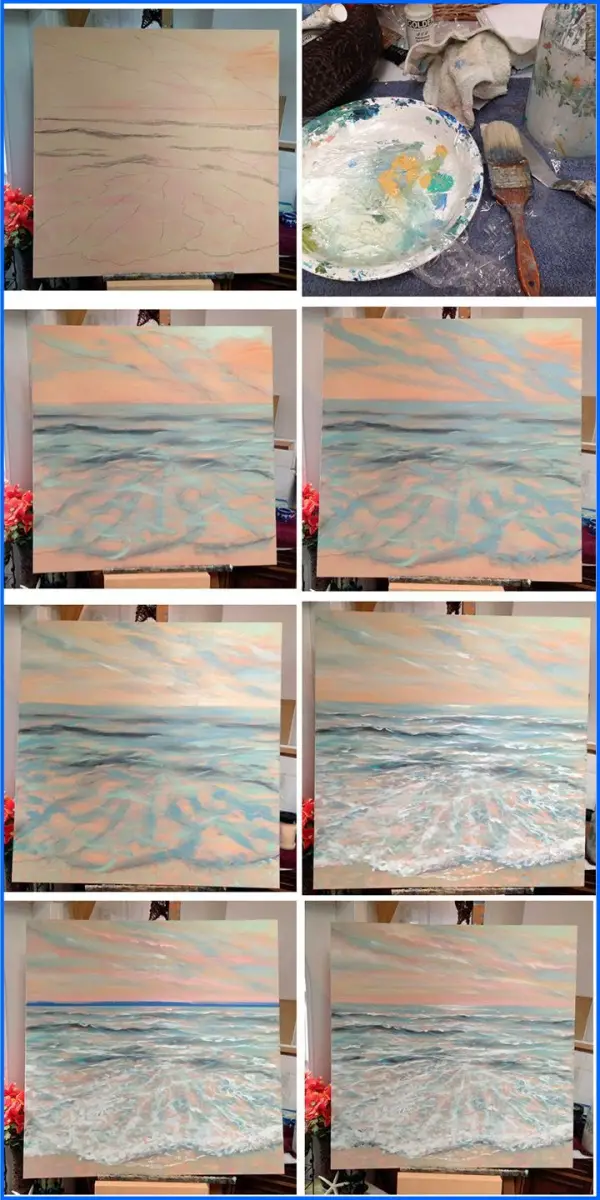
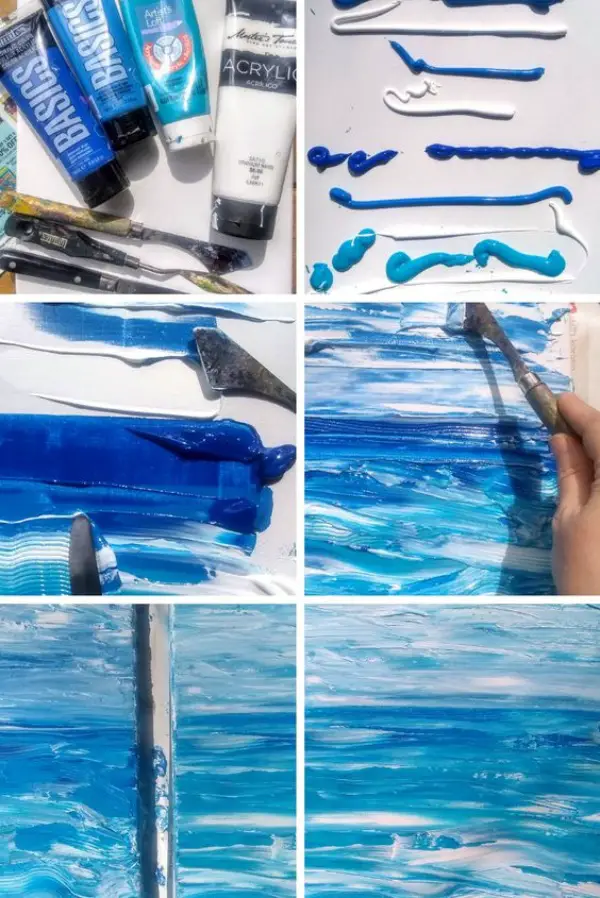
Start by covering almost 30% of the canvas with a layer of white paint. Take your palette knife and mix white, teal, blue, and turquoise paints. Spread the color horizontally on the top half of the canvas to indicate sky, of course! If you want to show the sunset view, add a bit of yellow tint in it.
STEP 4: Paint Underwater Background!
Bu using a combo of turquoise, blue and white acrylic paint, paint the underwater background base. Start from the bottom with paint curved strokes.
STEP 5: Add Light Color First!
Using a brush, gently paint the areas on your canvas that needs to be lighter such as – running water is usually lighter in tone. Use broad strokes when necessary to indicate shape and movement in the water.
STEP 6: Pay Attention to the Water’s Depth!
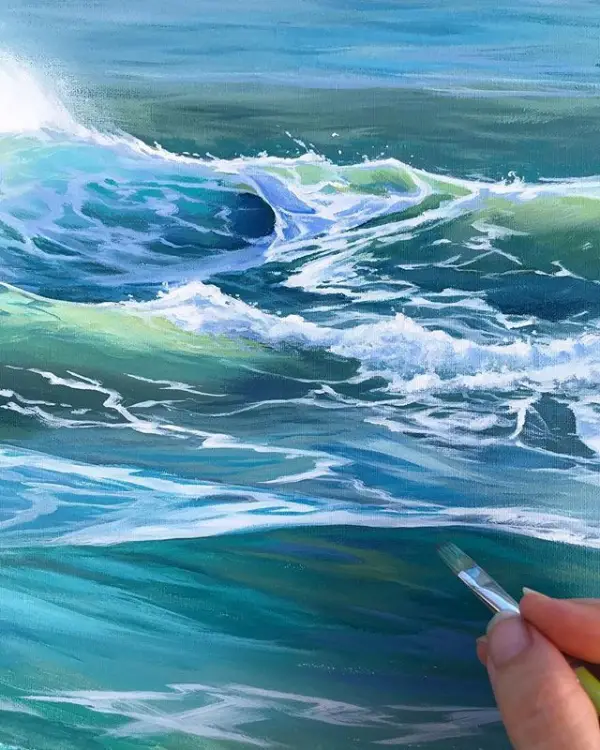
Another most important step of painting ocean step-by-step guide for beginners. To avoid the reflection that breaks water, try to use quick and light brush strokes when painting shallow water. Also, you can try out these Painting Clouds: Step by Step Guide for Beginners.
STEP 7: Add small Details!
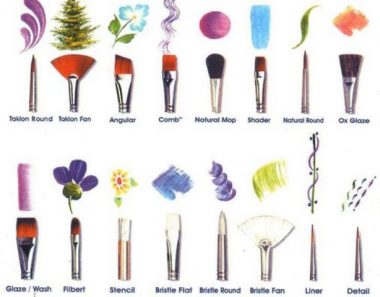
Once you’re done with the main aspects of painting, use thin-tipped brushes to fill in small details.
STEP 8: Allow your Painting to Dry!
After your painting is complete, allow your painting to dry. If you’re extremely happy with your painting skills, buy a nice frame for it and hang it up in your living room.
We hope this painting ocean step-by-step guide for beginners gives you the complete idea about how to sketch your painting, paint the ocean scene, add finishing touches, and display the work. But, don’t forget – having a strategy for painting water plays a vital role in creating impressive seascapes. Here you find some Best Canvas Painting Ideas For Beginners. Whether you’re a beginner or an expert, the beauty of the ocean painting idea is that it doesn’t need to look perfect from all aspects.
